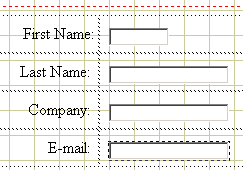
ASP Data Collection Forms- Form Attributes (cont.)Author: JoJo Back to Completing our Data Collection FormRepeat the method we learnt on the previous page to add a further three text fields to your form, using a new table row for each text field. Your form should then look like the image below.
Add the "Name" for each new form field into the TextField box in the PI. Experiment with the field sizes, adjust the lengths and maximum characters they can hold to suit the data that will be entered in to them.
Now we can complete the first section of our form by inviting the user to comment on our web site. Still working on our form.asp page we will add another text field, but this time we will make it a multiline text field or a text area. Insert the text field as you have with the previous fields and this time we will set the PI as below. 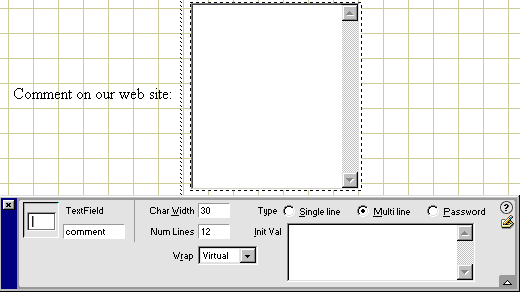
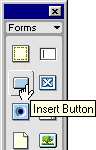
We have given our textarea a name of comment Selected the Multi line radio button which has provided the text area with scroll bars. Set a character width of 30. You will notice the maximum character box has now changed and is called "Num Lines", we have entered a value of 12 in this box which will force the textarea open to a value the equivalent of 12 of your characters high. Finally in the Wrap box we have selected virtual, this will force any text that is entered to wrap at the boundaries of the text area. Finally we can add submit and clear buttons to the base of the form. Again from the forms panel select the button option as in the image below, we can accept all the defaults for the first button.
Repeat the process to add a second button, this time we need to make changes in the PI as this will be our reset or clear button. Set the PI to reflect the changes as below. 
I have accepted the given Button Name: Reset |
|||||||||
|
|||||||||
::This page last modified 8/13/2013 at 04:37::
 |
Copyright
© 2001-2026 DreamweaverFAQ.com All Rights Reserved. All brands, trademarks, tutorials, extensions, code, and articles are the property of their respective owners. A production of Site Drive Inc. Legal Notice | Privacy Policy | Disclaimer & Notice
|
 |
